


Quick answer: To build DIY cat wall shelves, screw heavy-duty brackets into wall studs with 2.5–3 in screws. Space shelves 12–18 in apart vertically and 8–12 in apart sideways, make each one at least 10 in deep, and top it with grippy carpet tile or cork. A five-shelf route costs about $60–$150.
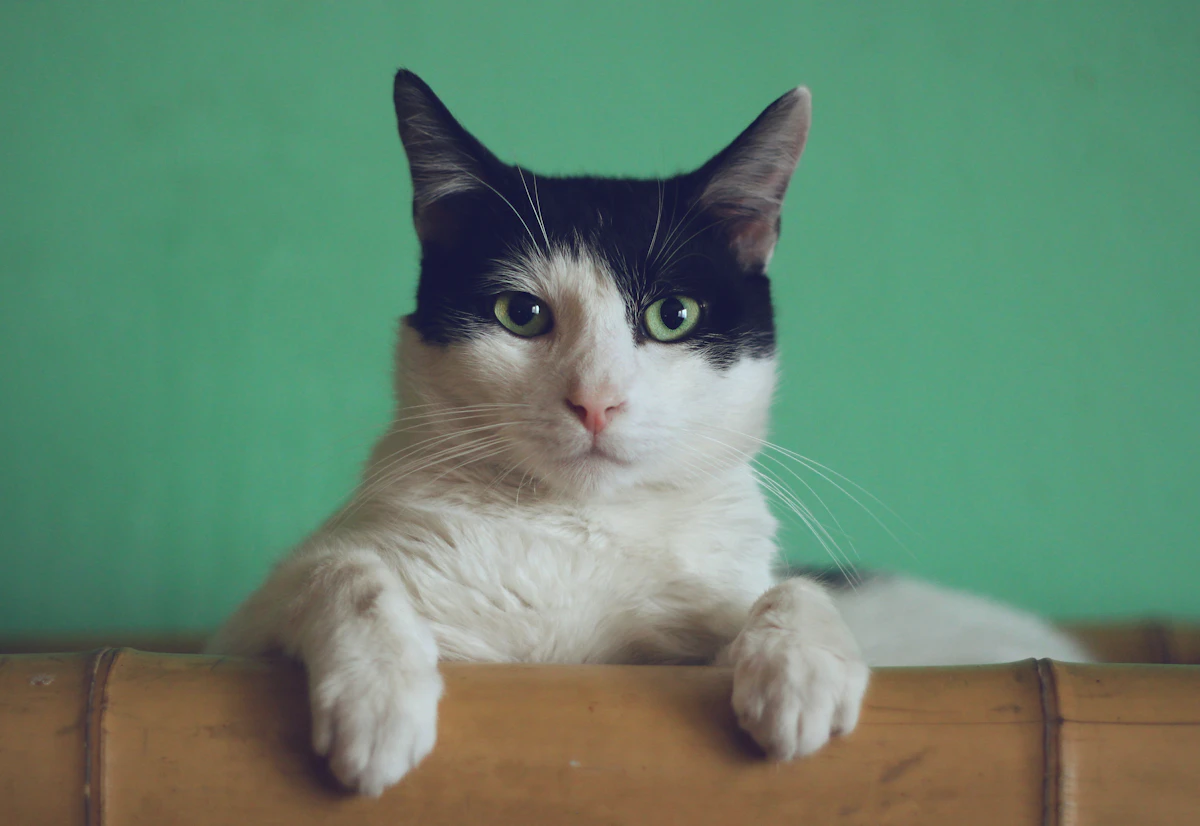
DIY cat wall shelves are the fastest way to double your cat's territory without giving up floor space. A well-planned wall route, ending at a window perch, gives an indoor cat height, a lookout, and an escape from dogs, kids, or a bossy housemate cat. The feline welfare experts behind the AAFP/ISFM Feline Environmental Needs Guidelines list elevated resting places as a core need, not a luxury. This hub collects everything you need to plan, build, and mount cat shelves safely. It covers spacing, hardware, surfaces, layouts, window perches, and options for renters.
I'm Sebastian, founder of CozeCats. Designing furniture that lives in real living rooms has taught me that the details cats care about, like grip, stability, and an exit, are the same ones that make a build look intentional instead of improvised.
Plan your DIY cat wall shelves before you drill
Watch your cat first
Spend two evenings noting where your cat already perches: the sofa back, a bookcase top, the fridge. Those spots show which heights it likes and which walls it watches. Plan the route so it starts near one of those launch points and ends somewhere with a view, usually a window or the top of a bookcase.
Measure the wall and find the studs
In most US homes, studs run vertically every 16 in on center, sometimes 24 in. Find them with a stud finder, confirm with a small finish nail in a hidden spot, and mark each stud's centerline in pencil from floor to ceiling. Sketch your shelves on painter's tape first. Stick rectangles to the wall at full size and live with them for a day. Cheap, reversible, and it shows you instantly whether the layout feels cramped.
Spacing rules that keep jumps safe
| Measurement | Typical adult cat | Senior, kitten, or large breed |
|---|---|---|
| Vertical rise between shelves | 12–18 in | 8–12 in |
| Horizontal gap (edge to edge) | 8–12 in | 4–8 in, or overlapping |
| Shelf depth | 10–12 in | 12–14 in |
| Step-shelf width | 14–18 in | 18–24 in |
| Lounging-shelf size | 12 × 24 in or larger | 14 × 30 in |
| Clearance below ceiling at top | At least 12 in to sit up | 14–16 in |
The first shelf should be an easy hop from furniture or the floor, around 24–30 in high. Never build a route that only goes up. Every shelf needs a safe way down, and every dead end needs a second exit in multi-cat homes so one cat can't trap another.
Materials and cost for cheap DIY cat wall shelves
You can build a solid five-shelf route for under $100 if you choose materials carefully. Here's a typical cost breakdown for 2026 US home-center prices.
| Item | Spec | Qty (5-shelf route) | Typical cost |
|---|---|---|---|
| Shelf boards | 3/4 in birch plywood or 1×12 pine, cut to length | 1 sheet (2 × 4 ft) or 10 ft of 1×12 | $25–$55 |
| Brackets | Heavy-duty steel L-brackets, 8–10 in, rated 100+ lb per pair | 10 | $20–$45 |
| Wall screws | #10 × 2.5–3 in wood screws for studs | 20–30 | $6–$10 |
| Shelf screws | #8 × 5/8 in (must not poke through a 3/4 in board) | 20–30 | $4–$6 |
| Top surface | Low-pile carpet tiles, cork sheet, or rubber-backed runner | 5 pieces | $10–$30 |
| Finish | Water-based, low-VOC polyurethane or hardwax oil | 1 small can | $12–$20 |
| Optional sisal | 3/8 in natural sisal rope to wrap one bracket post or a vertical climbing board | 25–50 ft | $8–$18 |
Pine is the cheapest, but it dents and can split near screws. Birch plywood stays flatter and holds screws better. Our comparison of plywood vs solid wood explains the trade-offs in detail. For finishes and longevity, see cat furniture materials: sisal, wood, and finishes.
How to build and mount cat wall shelves, step by step
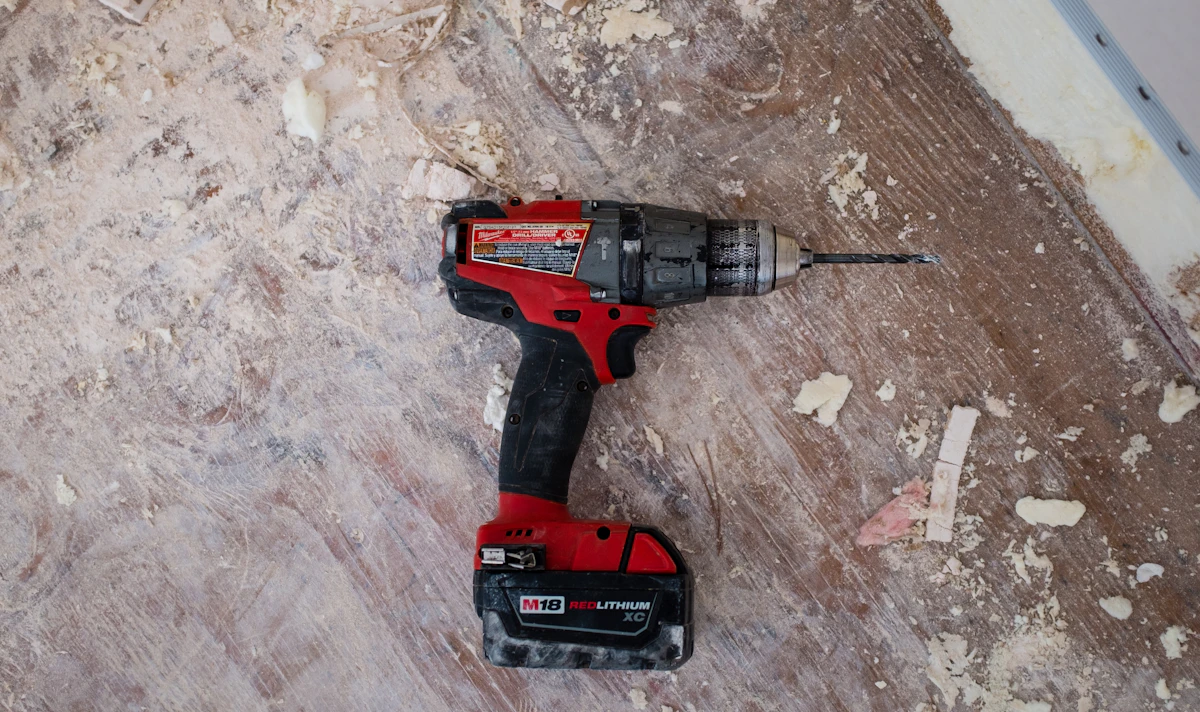
- Cut and sand. Cut the boards to size and round every corner to roughly a 1 in radius. Sharp corners hurt both cats and foreheads. Sand to 120 grit, then 180.
- Finish and cure. Apply two thin coats of water-based finish to all faces and edges. Let it cure for the time on the can, usually 72 hours, before a cat touches it.
- Add grip. Glue a carpet tile or cork sheet on top, or wrap low-pile carpet around the front edge and staple it on the underside, where claws can't reach the staples. Bare, finished wood is too slick for landings.
- Mark bracket positions. Each bracket's vertical arm goes on a stud centerline. Use a level and mark both screw holes.
- Pilot-drill and mount. Drill 1/8 in pilot holes and drive the #10 × 3 in screws through the bracket into the stud. Two screws per bracket, minimum.
- Attach the board. Center the shelf on the brackets and fasten it from below with 5/8 in screws.
- Load test. Press down hard on the front edge with both hands, about 50 lb of force, then try to lift and twist the shelf. No movement, no creak. If anything shifts, find out why before a cat finds out.
No stud where you need one? A heavy-duty snap toggle or metal toggle bolt rated for the load is acceptable for one bracket of a pair, but never for both. Plastic expansion anchors aren't safe for jumping loads. A cat landing from a height hits a shelf far harder than its body weight suggests.
Five cat wall shelves ideas that cats actually use
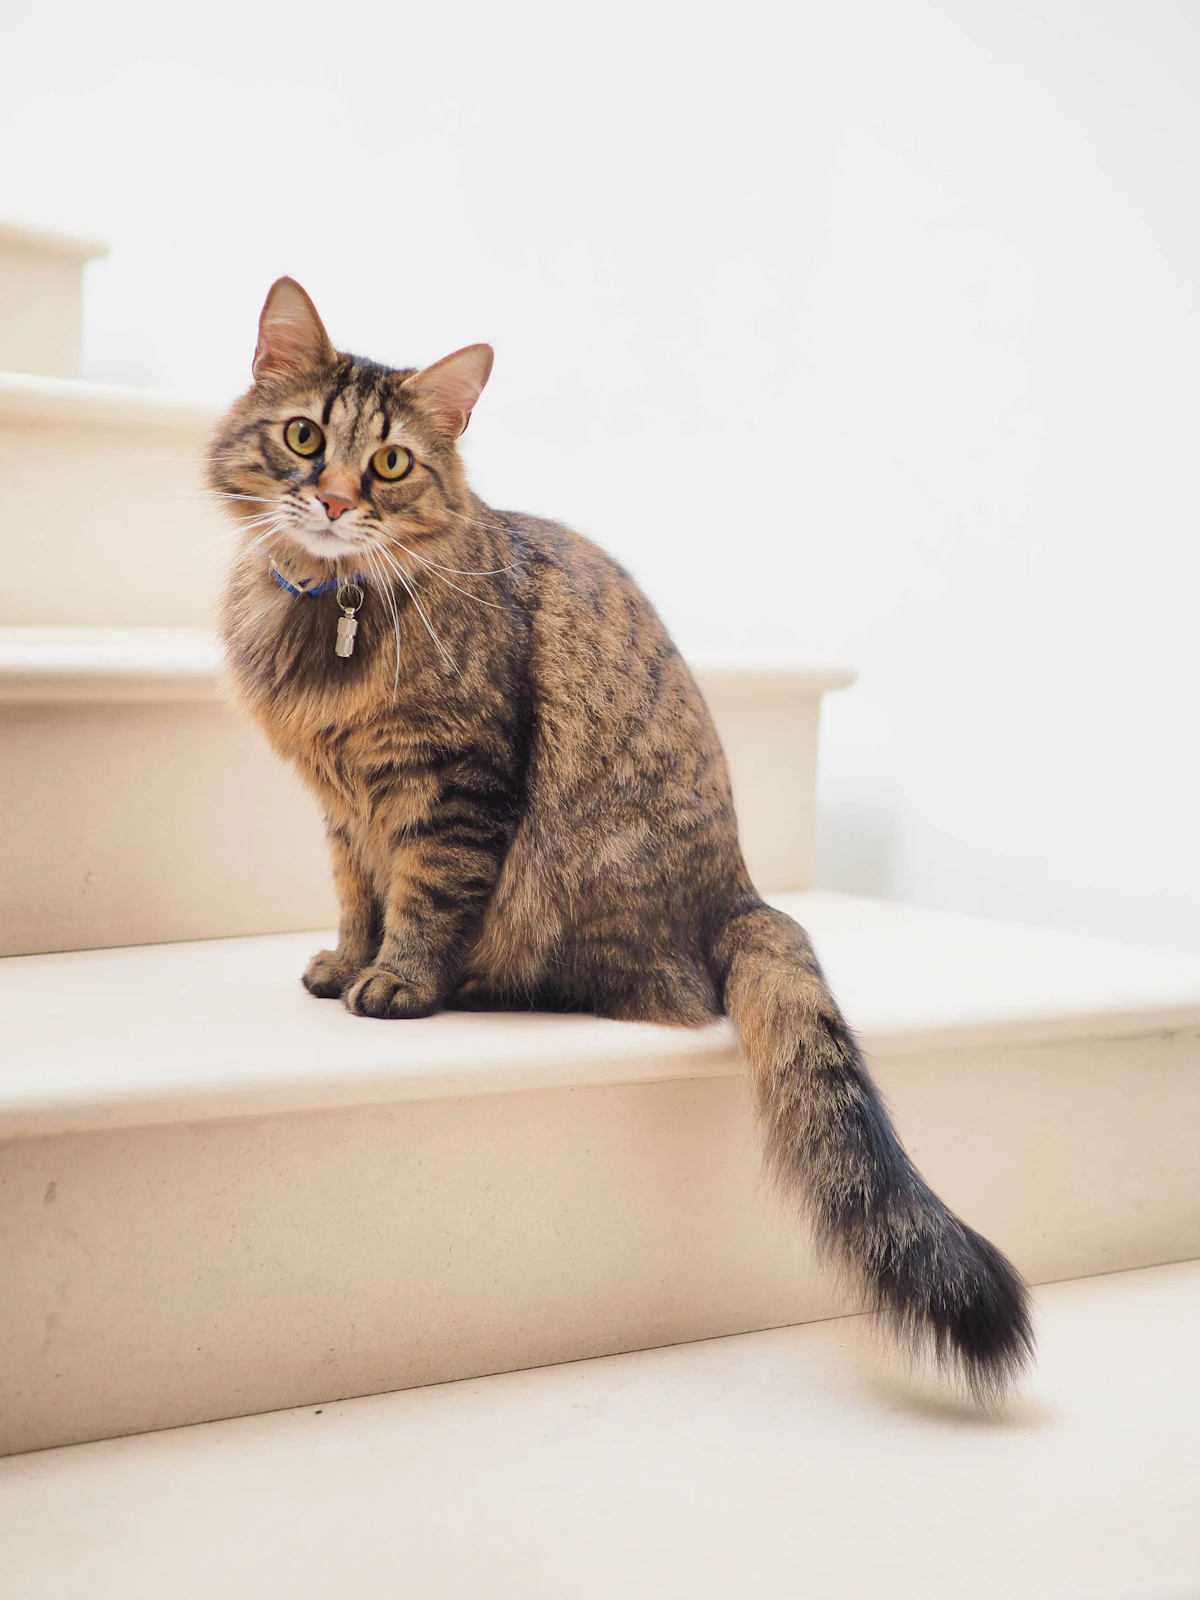
1. The staircase
Four to six step shelves climbing diagonally at a 12–15 in rise, ending at a lounging shelf. It's the easiest route to learn, and it fits a narrow wall beside a sofa or desk.
2. The zigzag
Shelves alternate left and right across two stud bays. It's more fun for young cats and gives two directions down, which is helpful in multi-cat homes.
3. The bridge
Two lounging shelves on opposite walls of a corner, joined by a 10 in wide plank or a rope-net bridge with a solid plank underneath. Fasten bridges to brackets at both ends. Never let a bridge rest on a shelf unfastened.
4. The vertical climbing board
A 10 × 48 in board wrapped in sisal, mounted vertically between two shelves. It gives cats a scratch-and-climb surface, which is how DIY cat climbing wall shelves double as a scratcher. Learn how cats choose scratching direction in vertical vs horizontal scratchers, and how to wrap sisal well in our complete sisal scratcher guide.
5. The corner tower
Triangular or quarter-round shelves mounted in an inside corner, screwed into the corner studs. This works in small apartments where a whole wall isn't available. Pair it with ideas from cat furniture for small spaces.
DIY cat window perch: three build options
A window perch is the payoff at the end of the shelf route, and for many cats it's the most-used spot in the house. Bird and street watching is real enrichment.
Option A — Sill-extension shelf (most stable)
Cut a 3/4 in board 10–14 in deep and as wide as the window. Mount it with its top flush with the sill on two or three brackets screwed into the studs beside or below the window, or into the window framing. Add a carpet-tile top and a 1 in front lip so the cat feels secure.
Option B — Hammock perch on a wood frame
Build a 1×3 frame screwed to the wall below the window and stretch heavy canvas across it, stapled underneath. Keep the canvas taut, because a sagging hammock bounces and nervous cats hate that.
Option C — Suction-cup perch (renters, use with care)
These work only on smooth, clean, non-tinted glass. Clean the glass with rubbing alcohol, press out all the air, and re-check the cups every month, since temperature swings loosen them. Never use one above a hard floor for a heavy cat, and keep the posted weight limit in mind.
Whatever you build, check that the screen or window lock can't be pushed open. If you put plants on the sill, confirm each one against the ASPCA list of toxic and non-toxic plants for cats. Cats on window perches chew whatever is in reach.
Make cat shelves look like part of the room

The difference between "cat stuff" and "furniture" comes down to consistency. Pick one wood tone that matches an existing piece in the room, and stain all the shelves the same. Hide the brackets with concealed steel floating-shelf hardware if your wall allows it, or choose matte black brackets as a deliberate design detail. Use the same top surface on every shelf. For inspiration, see cat-friendly living rooms that still look designed, mid-century modern cat furniture ideas, and cat furniture that doesn't look like cat furniture.
Renter-friendly cat shelves DIY
- Anchored bookcase route: A tall bookcase secured with an anti-tip furniture strap (two small screws, easy to patch) becomes a staircase if you remove a few shelves and add carpet tiles.
- Floor-to-ceiling tension pole rated for cats, with clamp-on platforms. No wall holes at all.
- Few, well-placed holes: Most leases allow small screw holes, which patch easily with spackle. Five properly mounted shelves usually mean 20–25 small holes, far less damage than a failed anchor tearing out drywall.
Safety checklist for cat wall shelves
- Stud-mounted brackets, or at most one rated toggle per pair
- No exposed screw tips, staples, or sharp bracket edges
- Grip surface on every landing; nothing slick
- Two ways down from any shelf above 5 ft
- Keep shelves away from ceiling fans, hot lights, and open shelving with breakables
- Re-tighten screws and load-test every 3 months
Pair your route with a scratcher at the base. Cats often stretch and scratch right after coming down. Our scratcher placement rules show where it gets used most. For broader basics on indoor cat needs, the ASPCA's general cat care guide is a good refresher.
DIY cat wall shelves: FAQ
How far apart should cat wall shelves be?
For most adult cats, 12–18 in apart vertically and 8–12 in apart horizontally, edge to edge. For seniors, kittens, or large breeds, reduce the rise to 8–12 in and let the shelves overlap.
How much weight do cat shelves need to hold?
Far more than your cat weighs, because landing force multiplies load. Use brackets rated 100 lb or more per pair, screw them into studs, and test each shelf by pressing about 50 lb on the front edge.
What is the cheapest way to make DIY cat wall shelves?
Use 1×12 pine boards, steel L-brackets, and carpet-tile tops. A five-shelf route typically costs $60–$100. Spend your money on the brackets and screws, not the decor.
How do I make a DIY cat window perch?
Mount a 10–14 in deep board flush with the sill on brackets screwed into the window framing or studs, then top it with a carpet tile and a small front lip. Suction-cup perches work only on smooth, clean glass and need monthly checks.
Can I put up cat shelves without drilling studs?
For one bracket of a pair, a heavy-duty rated toggle bolt is acceptable. Never rely on plastic anchors alone. Renters can use an anchored bookcase route or a rated floor-to-ceiling tension pole instead.
What should go on top of cat shelves?
Low-pile carpet tile, cork, or a rubber-backed runner, so landings grip. Staple any wrapped carpet on the underside so claws never meet staples.
Bottom line
Great DIY cat wall shelves come down to three things: studs, spacing, and grip. Map the route on tape, screw every bracket into framing, keep rises around 12–18 in, give each shelf a non-slip top, and always include a way down. Finish the route at a sturdy window perch and your cat gets a lookout it will use for years. For more room-by-room ideas, browse modern cat living rooms that still look like adult homes.


